

WikiHow presents an excellent step by step procedure for creating an clickable image map using the free GIMP image manipulation software:
For my image map I took the map from My Google Trek Blog Index of Past Posts and opened it in GIMP using the Image Map Editor under the FILTERS heading:

I selected the circle shape for my clickable areas of the map, and then created an area and link for every number on the map. When completed, I went to the VIEW area, selected "View Source" and then cut the code out and pasted it into my Google Treking Index of Past Posts to replace the previous map. Here is text file containing the HTML code that I cut and pasted:
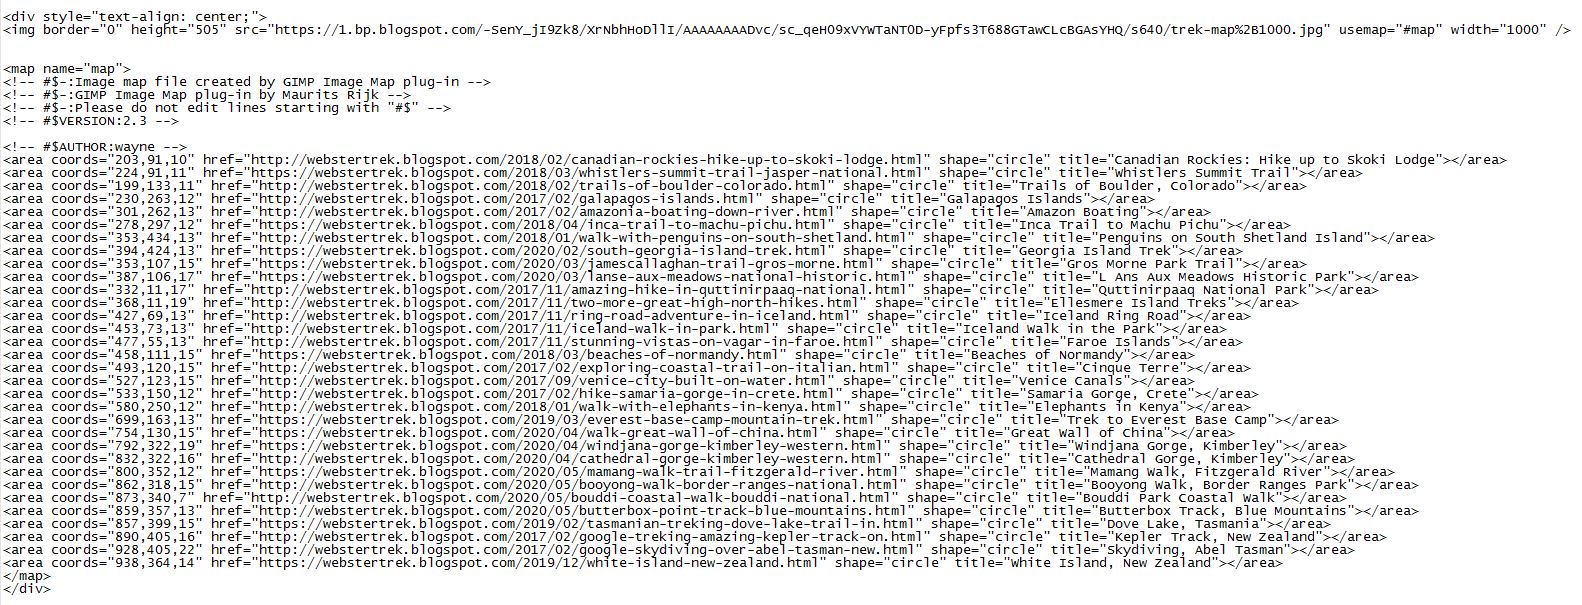
After the map code was pasted into the post, I noticed that there were no titles used. Titles appear when the mouse hovers over a number. So I added a brief title to each of the map areas of this code as you can see above.
NOTE: The image map should be saved in GIMP as a .map file. When further numbers or other changes are made to the map, the image mapper filter can be accessed to open the .map file which is then applied to the altered map and other clickable areas can be added.
No comments:
Post a Comment
Note: Only a member of this blog may post a comment.